
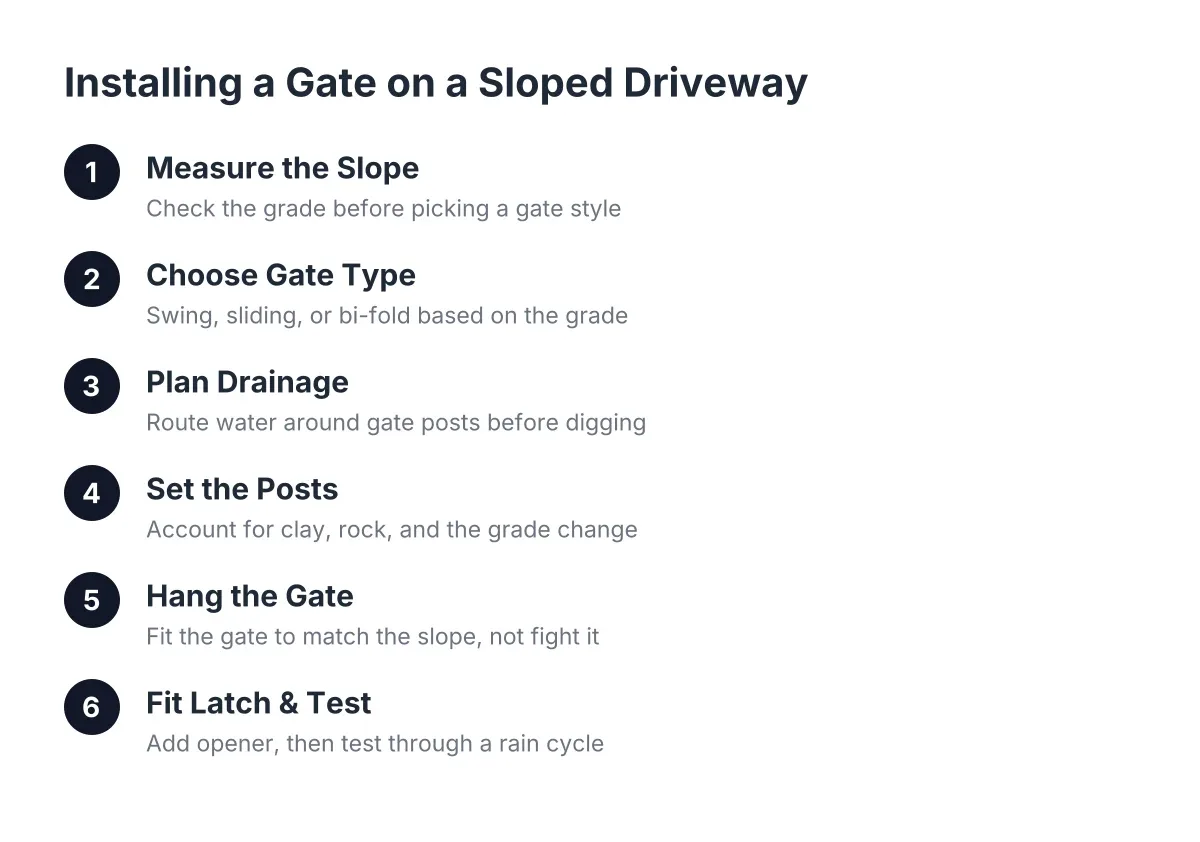
Driveway Gate Installation on Sloped Knoxville Lots: A Step-by-Step Guide
If your driveway climbs or drops on the way to the street, you already know a standard gate plan will not work. Driveway gate installation on sloped ground takes more planning than a flat-lot job, because the gate has to swing or slide without scraping the pavement, the posts have to stay put in clay and rocky soil, and water running downhill cannot be allowed to pool around the hardware. Knoxville foothills lots deal with all three at once. A well-planned sloped driveway gate installation accounts for these challenges from the start.
This guide walks you through the process step by step, the way a crew would actually sequence the work. You have already decided to put a gate in. The goal now is to get it installed so it still closes cleanly five winters from now, after East Tennessee freeze-thaw cycles and heavy spring rain have done their worst.
Step 1: Measure the Slope Before You Pick a Gate Style
Start with the grade, not the gate. Stretch a string line level across the driveway opening and measure the drop from the string to the pavement at both sides. That number, the rise across the width of your opening, decides everything that follows.
A small drop of an inch or two across a twelve-foot opening can usually be handled with extra ground clearance under a swing gate. A steeper grade forces a different design. Write the measurement down, and note which way the driveway slopes: side to side across the opening, uphill away from the street, or downhill toward it. A driveway that falls toward the street is the hardest case for an inward-swinging gate, because the gate drops into the rising pavement as it opens.
In addition, walk the opening after a hard rain if you can. Watch where water runs. On foothills lots, the driveway often acts as a channel, and your gate posts will sit right in the flow path.
Step 2: Choose Swing, Sliding, or Bi-Fold Based on the Grade
The slope picks the gate type for you more than taste does. Here is how the options sort out:
- Swing gate, standard hinges: Works when the driveway is close to flat or slopes away from the swing direction. Cheapest and simplest.
- Swing gate opening downhill: If the pavement falls away in the direction of the swing, a standard swing gate can work even on a moderate grade, because the gate rises relative to the ground as it opens.
- Swing gate with rising hinges: Self-rising or adjustable hinges lift the gate as it swings, buying a few inches of clearance over a grade that rises into the swing path.
- Sliding gate: The usual answer for steeper Knoxville driveways. The gate travels along the fence line instead of across the slope, so the grade under the opening stops mattering. You do need level run-off space to one side for the gate to slide into.
- Raked or stepped gate: A gate built with its bottom edge angled to match the slope, so the gap under it stays consistent. Common on side-to-side grades.
For example, suppose a homeowner in a hillside subdivision off Northshore has a driveway that drops about six inches across a fourteen-foot opening, falling toward the street. A standard inward swing gate would jam against the pavement halfway open. In that scenario, a sliding gate or a raked swing gate opening outward and downhill are the two workable designs, and the sliding gate wins if the fence line beside the driveway is level enough to carry the track.
One honest trade-off: sliding gates cost more up front and need more hardware to maintain than swing gates. If your grade is mild, do not pay for a slider you do not need.
Step 3: Plan Drainage Around the Gate Posts First
Drainage is the step most homeowners skip, and it is the one that decides how long the installation lasts. On a sloped Knoxville lot, rainwater runs downhill along the driveway edge and collects against anything in its path, including your new gate posts. Standing water in clay soil keeps the post base saturated, and winter freeze-thaw cycles then heave and loosen the posts.
Before any digging, plan where water will go after the posts are in:
- Dig post holes a few inches deeper than the frost-safe set depth and add a gravel layer at the bottom. The gravel gives water a place to drain away from the post base and provides a stable footing.
- Crown the concrete at grade. A common failure is stopping the concrete a couple of inches below the surface and backfilling with dirt or sod. That traps moisture exactly where the post meets the ground, and it becomes the first place the post fails. Bring the concrete to grade and slope it away from the post so water sheds off.
- Keep the downhill post out of the flow path where possible. If the driveway edge channels runoff, shifting a post a few inches, or adding a shallow swale uphill of it, keeps the base from sitting in moving water every storm.
Therefore, if your installer talks about hinges and openers but never mentions where the water goes, ask. On foothills ground, drainage planning is part of the gate installation, not an extra.
Step 4: Set Posts for Clay, Rock, and the Grade Change
Gate posts carry far more load than fence posts, and on a slope they carry it unevenly. The downhill post on a swing gate takes the full hanging weight of the gate at maximum leverage. Set it accordingly: deeper, with a wider concrete footing, and plumb in both directions even though the ground around it is not level.
Knoxville's ground complicates this. Clay holds water against the footing, and rocky soil can stop an auger a foot short of target depth. If the crew hits rock, the fix is to widen the hole and anchor into the rock rather than accept a shallow set. A shallow gate post on a slope will lean within a season or two.
Next, use a string line across the post tops to keep heights consistent above the grade. On sloped ground, one side of a post hole often needs to be backfilled higher than the other so the top of the gate frame runs where you want it, level or raked to match the driveway. Decide that look before the concrete goes in, because you cannot adjust it after.
Step 5: Hang the Gate to Match the Slope, Not Fight It
With posts cured, hang the gate so its bottom edge relates correctly to the pavement through the full swing or slide. A useful trick on swing gates: install the latch striker on the receiving post before hanging the gate. The striker position then acts as a fixed target, which helps align the gate correctly as the hinges are set.
For a raked gate, confirm the bottom gap stays consistent along the slope. For a rising-hinge gate, cycle it fully open and closed several times and watch the clearance at the tightest point. Additionally, for a sliding gate, check that the track or cantilever rollers sit level even though the driveway below is not; the gate rides the track, not the ground.
However, do not aim for a hairline gap under the gate on a sloped driveway. Ground moves. Clay swells in spring rain and shrinks in dry spells, and posts settle slightly in the first year. Leave working clearance now so the gate still operates after the ground shifts.
Step 6: Fit the Latch and Any Opener for Long-Term Movement
Set the latch with settling in mind. Position the striker near the top of the latch's engagement range, so when the posts settle or the ground heaves, the latch still catches instead of missing low. This matters on every sloped driveway gate installation, and it matters doubly if the gate also serves as a pool barrier.
If your gate controls access to a swimming pool area, the hardware requirements change. A pool fence gate needs to be a self-closing pool gate that latches on its own every time, with the release positioned per code. That applies whether the barrier is aluminum, vinyl, or chain link; even a chain link gate latch on a pool enclosure has to self-latch reliably. On a slope, test the self-close from multiple open positions, because gravity on a graded driveway can either help the gate close or hold it open depending on the swing direction. If an inspection deadline is driving your timeline, have the installer verify self-close and self-latch function on the finished grade, not on paper.
For automatic openers, slope affects the operator choice. A swing operator fighting gravity on every cycle wears faster, and a slider on a grade needs the track dead level. This is a spot where a local fencing contractor earns their fee; opener sizing on sloped driveways is not a guess-and-check job.
Step 7: Test Through a Rain Cycle and Adjust
Finally, do not call the project finished the day the crew leaves. Run the gate daily for the first couple of weeks, and pay attention after the first heavy rain. Watch for water pooling at either post, a latch that starts catching high or low, and any new drag at the tightest clearance point.
Minor latch and hinge adjustments in the first season are normal, not a sign of a bad install. What you are checking for is drainage behavior: if water stands against a post base after storms, address it now with gravel or regrading before freeze-thaw cycles get a chance to work on it.
Common Questions on Sloped Driveway Gate Installation
What happens if a gate is installed incorrectly on a sloped driveway?
A gate installed wrong on a sloped driveway typically scrapes the pavement partway through its swing, sags on the downhill post, or stops latching as the posts settle. Water pooling at the post base then accelerates the failure. The usual causes are posts set too shallow, no drainage gravel, and no allowance for ground movement.
Fixing these problems after the fact often means pulling and resetting posts, which costs more than doing the slope work up front. If your existing gate already drags or misses the latch, a fence repair visit can sometimes correct it with hinge and striker adjustments before the posts themselves fail.
How long does driveway gate installation take on a slope?
A sloped driveway gate installation typically takes one to three working days, plus concrete cure time before the gate hangs. Flat-lot swing gates sit at the short end. Sliding gates on a grade, rock excavation, or drainage regrading push the timeline toward the longer end, and automatic opener wiring adds a step.
Weather matters too. Crews avoid setting posts in saturated clay, so a stretch of East Tennessee spring rain can shift the schedule by a few days.
Can I install a driveway gate myself on a sloped lot?
A capable homeowner can install a light swing gate on a mild grade, but sloped driveway gates are the hardest version of the job. The slope measurement, post depth in clay or rock, drainage design, and raked gate fabrication each have failure modes that do not show up until months later. Sliding gates and automatic openers on grades are professional work.
As of 2026, if the gate is part of a pool barrier, the self-closing and self-latching requirements raise the stakes further; an inspector will test the gate, not your intentions. For pool-code situations, hire a fence company that installs pool gates regularly and ask them to walk you through the latch and closer setup before inspection day.
What drives the cost of a driveway gate on a slope?
The cost factors for a sloped driveway gate are the gate type, the opening width, the material, the ground conditions, and whether an opener is included. Sliding hardware, rising hinges, rock excavation, and drainage work each add cost over a basic flat-lot swing gate. Material matters as well; aluminum and vinyl gates price differently than wood or chain link.
For context on material costs generally, wood fencing runs about $11 to $45 per linear foot professionally installed according to Angi, while vinyl runs $30 to $60 per linear foot according to HomeGuide. Gates price separately from fence runs, but the same material cost relationships hold. Get an itemized quote so you can see what the slope itself is adding, and compare two or three bids on the same gate type rather than mixing a swing quote against a slider quote.
If you need gate installation and repair, Knoxville Fence Builders can help.
Prefer to talk it through? Call (865) 419-3997 — a quick call is usually the fastest way to get a straight answer for your situation.