
How to Fix a Vinyl Fence Crack or Panel: Repair Steps, Parts, and Costs
A vinyl fence crack in a panel does not mean the whole fence is done. Most of the time you can swap one panel, a rail, or a few pickets and the fence looks new again. This guide walks through how to size up the damage, find matching replacement parts, and make the fix hold, whether you own a few rental houses around Knoxville or several acres out toward Loudon or Jefferson City. It also covers what the repair should cost and when a cracked panel is a sign of a bigger problem underneath. Understanding vinyl fence panel replacement helps you decide whether a fix is simple or calls for professional help.
Vinyl is popular here for a reason. It resists rot and fading in a way wood never will, which matters in East Tennessee's wet springs and freeze-thaw winters. But vinyl is still PVC. A mower-thrown rock, a falling limb, a dog hitting the same spot every day, or a cold snap that makes the material brittle can all crack a panel. Here is how to fix it, step by step.
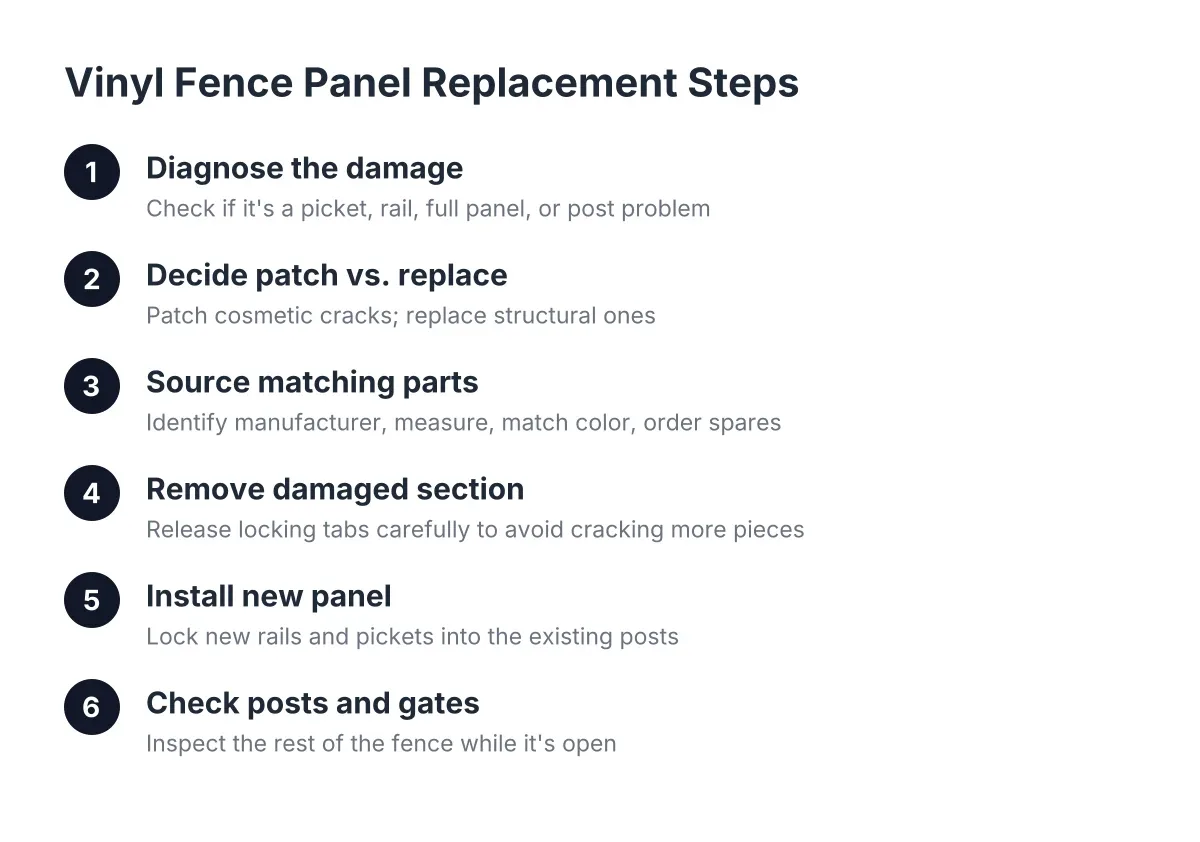
Step 1: Figure Out What Actually Cracked
Before you order anything, identify which part failed. A vinyl fence is a system of posts, rails, and pickets, and each part gets replaced differently.
- Picket crack or hole. The cheapest fix. Individual pickets slide out of the rails and can be swapped one at a time.
- Rail crack or sag. The top or bottom rail is cracked, bowed, or pulled out of the post. Rails are replaceable, but you have to open up the panel to get to them.
- Full panel damage. Multiple pickets and a rail are broken, usually from a tree limb or vehicle contact. Replacing the whole section is often faster than piecing it back together.
- Post damage. The post is cracked, leaning, or loose in the ground. This is the one that changes the job, because the posts are the foundation of the entire fence. A cracked panel hanging on a leaning post will crack again.
Push on the posts on both sides of the damaged section. If they move, the real problem is below grade, not in the panel. Knoxville-area clay holds water, and freeze-thaw cycles can heave a footing enough to stress the vinyl above it. Fix the post first or the new panel fails the same way.
Step 2: Patch Versus Vinyl Fence Panel Replacement
Patch when the damage is cosmetic; replace when it is structural. A hairline crack or a small hole on one picket can be filled with a PVC repair kit or patched from behind, and that fix is fine for a backyard run nobody inspects closely. A crack that runs through a rail, spans multiple pickets, or sits where the fence takes load needs replacement parts.
Use this quick test. If the crack flexes open when you press beside it, the part has lost its strength and a surface patch will not restore it. If the crack stays tight and the piece feels rigid, a patch kit will hold.
For example, say a landlord owns a rental in Powell with a dog run along the back line. A tenant's mower threw a rock and punched a hole in one picket. In that scenario, a patch or a single picket swap costs a fraction of a panel and keeps the pet-friendly listing intact. But if a storm dropped a limb across the top rail and snapped three pickets with it, patching each break one by one costs more in time than vinyl fence panel replacement.
One honest trade-off: patched vinyl rarely matches perfectly. Repair kits and fillers get close on white fence, but on tan or gray profiles the patch can show in direct sun. On a street-facing section at a rental you want to look sharp for showings, replacement usually beats a visible patch.
Step 3: Source Matching Replacement Panels and Parts
This is the step that trips people up. Vinyl fence profiles are not universal. Rail dimensions, picket widths, routed hole spacing in the posts, and even the shade of white vary by manufacturer. A panel that looks right online can arrive a half inch off and never lock into your existing posts.
Work through these checks before you buy:
- Identify the manufacturer if you can. Look for a stamp inside a rail or on the bottom of a picket. Pull one picket out and take it, or clear photos with a tape measure in frame, to a fence supplier.
- Measure everything. Post-to-post distance, rail height and depth, picket width and thickness, and the spacing of the routed holes in the posts.
- Match the color in daylight. A ten-year-old white panel next to a brand new one will show a slight difference. On long runs this is unavoidable; place the new section where it is least visible if you have a choice.
- Order spares. If you manage several rental properties, buy an extra picket or two with the same profile. The next fence repair at one of your addresses gets much cheaper when the part is already in the garage.
A local fencing contractor can usually identify a profile on sight and source a match faster than a homeowner searching part numbers. If the fence is a discontinued line, a pro can also cut and adapt a near-match so it locks in cleanly instead of sitting loose.
Step 4: Remove the Damaged Section Without Breaking More
Vinyl panels assemble with pickets locked into routed rails, and rails locked into routed posts, often with small locking tabs. Forcing parts out cracks the pieces next to the damage, which turns a one-panel job into a two-panel job.
Start by removing the post caps near the damaged section. Then press the locking tabs where the rails enter the posts; a flat putty knife helps release them. Lift the top rail out first, slide the damaged pickets free, and remove the bottom rail last. Work in mild weather if you can. Cold vinyl is brittle, and prying on a panel in January is how one crack becomes four.
If a rail will not release, check whether it was screwed or glued in during the original fence installation. Some installers add screws inside the post for wind resistance. Find and remove those before pulling.
Step 5: Install the New Vinyl Fence Panel
Reassembly runs in reverse. Seat the bottom rail into both posts until the tabs lock, slide the pickets in, then set the top rail. Some installers prefer building the top rail onto the pickets first and popping the assembly in as a unit; either order works, so use whichever is easier with your post spacing.
Two situations call for a cut panel instead of a stock one:
- Short bays. If the damaged section sits at a corner or end of a run where a full panel never fit, measure the gap, cut the rails to length, and finish with a picket at the corner to hide the cut edge.
- Mixed visibility. When you are replacing several sections and some must be cut down, put the full factory panels where people see them, the street side or the gate approach, and tuck the cut sections along the back line.
On sloped ground, common in the foothills around Knoxville, confirm the new panel follows the same step or rack pattern as its neighbors. A level panel in a stepped run reads as a mistake from fifty feet away.
Step 6: Check the Posts and Gates While You Are Out There
A cracked panel is often the symptom, and the cause is movement somewhere else. Walk the whole line while you have tools out. Push each post. Open and close every gate and watch whether the latch still lines up. Gate hardware takes more abuse than any panel, and East Tennessee's heavy spring rain and winter freeze-thaw cycles work on footings every year.
For acreage owners, this walk matters even more. On a long perimeter run containing dogs or livestock, one loose post lets the whole adjacent section flex, and a determined dog finds that flex fast. Catching two loose posts during a panel repair is far cheaper than a call-back after the animals get out.
If a post is cracked or set shallow in rocky ground, that repair involves digging, and digging in this area's clay and rock is its own project. In tight spots, such as butting against a neighbor's fence or working around tree roots, installers sometimes reinforce with a metal pipe inside the vinyl post sleeve. That is a reasonable point to bring in a pro rather than fight the ground yourself.
What Vinyl Fence Panel Replacement Should Cost
Expect three cost buckets: the part, the labor, and anything structural. A picket swap or patch kit is the low end, often a do-it-yourself job with no labor cost at all. A full panel replacement adds the panel price plus an hour or two of labor if you hire it out. Post repair is the expensive bucket because it involves digging and setting in concrete.
For context on replacement math, vinyl fencing costs about $30 to $60 per linear foot installed according to HomeGuide, and professional vinyl installation starts around $15 to $40 per linear foot according to Angi, as of 2026. Those figures describe new installation, and they are useful as a ceiling. If repair quotes on an older fence start approaching per-foot replacement cost across several sections, replacing the run usually wins, especially since vinyl's low upkeep makes it cost-effective over time.
Cost factors that move a repair quote up or down:
- Whether the profile is still in production or must be matched and cut
- How many sections and pickets are damaged
- Post condition, since digging in clay and rocky soil adds real labor
- Access, because a back-line panel behind a shed takes longer than one along a driveway
- Color and age, since faded runs sometimes justify replacing a visible stretch rather than one panel
Beware of the cheapest bid on anything structural. A post reset done poorly fails again within a few seasons, and paying twice costs more than paying right once.
When to Call a Pro Instead of Ordering Parts
Searches for fencing repair near me spike after storms for a reason: limb damage usually breaks rails and posts together, not just a picket. Call a fence company rather than ordering parts yourself when any of these apply:
- More than one post is loose, leaning, or cracked
- The fence profile is discontinued and nothing on the shelf locks into your posts
- The damaged section includes a gate, since gate alignment is unforgiving
- The run sits on a slope and the step pattern has to be rebuilt
- You own multiple properties and want one visit to handle several addresses
A local pro who works in Knoxville-area ground knows what the clay and rock do to footings and can tell you honestly whether a crack in one panel is isolated or the first visible failure in a tired run. That judgment call, panel versus section versus full replacement, is where experience saves you the most money.
If you need fence repair, Knoxville Fence Builders can help.
Prefer to talk it through? Call (865) 419-3997 — a quick call is usually the fastest way to get a straight answer for your situation.