
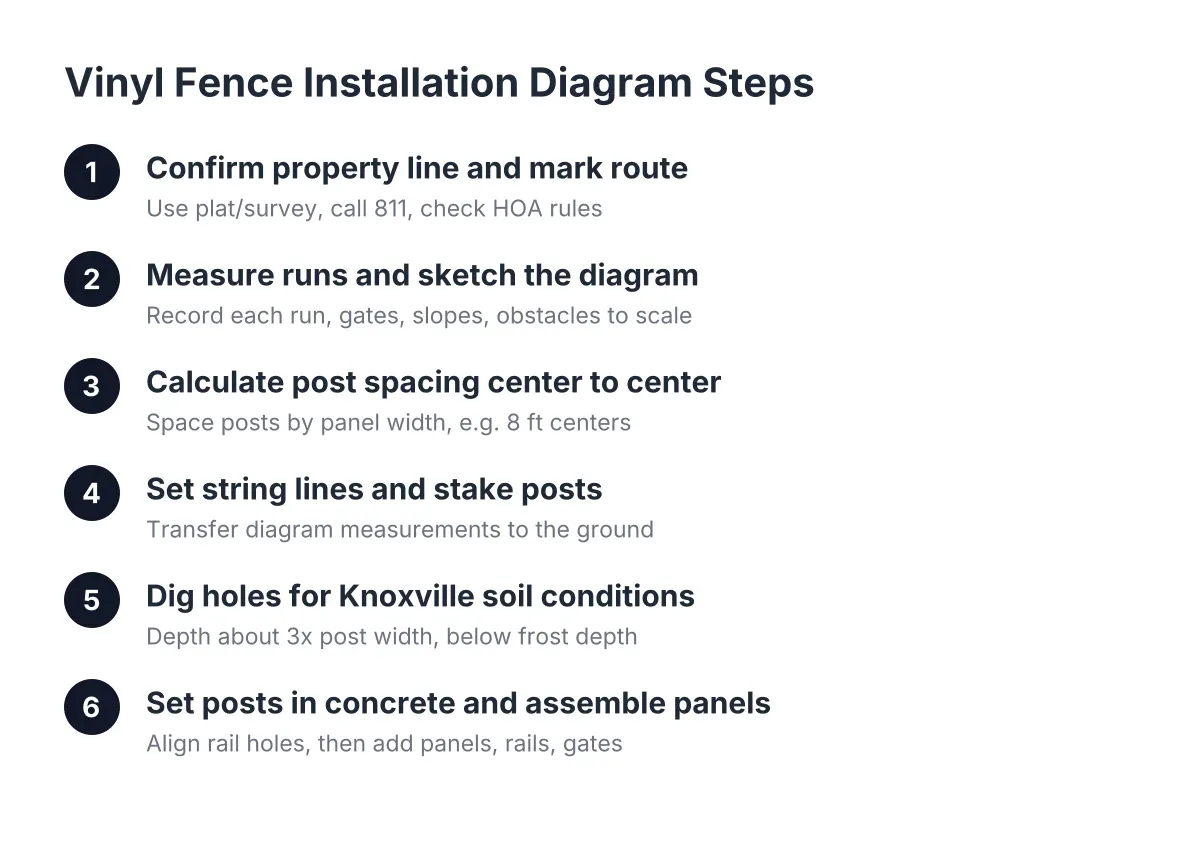
Vinyl Fence Installation Diagram: Layout, Measurements, and Post Spacing
If you are sketching out a vinyl fence installation diagram before you hire anyone or dig a single hole, you are doing it in the right order. A good diagram maps your property line, marks every post, shows post spacing measured center to center, and flags trouble spots like slopes, trees, and gates. This guide walks through building that diagram step by step, the same way a local fencing contractor would plan a job in Knoxville. It works whether you are replacing a storm-damaged run on your own property or pricing a perimeter replacement for an HOA pool area.
One note before we start. The diagram is the planning tool. The fence only turns out as good as the measurements behind it, so slow down on Steps 2 and 3. Most crooked fences were crooked on paper first.
Step 1: Confirm Your Property Line and Mark the Fence Route
Start with where the fence can legally go, not where you think it goes. Pull your plat or survey, locate the pins at the corners, and mark the line with stakes. In older in-town Knoxville neighborhoods, fences built decades ago often drift a foot or more off the true line, so never trace an old fence and assume it is right.
Next, call 811 before any digging. Buried utility lines get marked for free, and hitting one turns a fence project into a much worse week. If you manage an HOA or commercial property, also pull the governing documents. Many boards have rules on fence height, color, and setback from the street that your diagram has to respect.
Storm-damage note: if a tree limb took out a section and you are only rebuilding part of a run, your diagram still starts at the nearest undamaged corner post. That is your fixed reference point. Measuring from a leaning or shifted post bakes the damage into the new layout.
Step 2: Measure the Run and Create Your Installation Diagram for Vinyl Fencing
Measure the total length of each straight run with a long tape or measuring wheel, corner to corner. Write down every run separately; a backyard with four sides is four runs, not one number. Then sketch the yard to rough scale on graph paper, one square per foot or per two feet.
Your vinyl fence installation diagram should show, at minimum:
- Each straight run with its measured length
- Every corner and end point
- Gate locations and gate widths (walk gates and drive gates)
- Slopes, with an arrow showing which way the ground falls
- Obstacles: trees, utility markings, downspouts, AC units, and existing structures
- The house, pool, or building the fence relates to
For an HOA pool enclosure, add the pool gate locations and swing direction to the diagram now. Pool gates typically must open away from the pool and self-close, and planning that on paper is far cheaper than fixing it after the posts are set.
Step 3: Calculate Post Spacing Center to Center
Post spacing is the measurement that makes or breaks a vinyl fence, and the rule is simple: measure from the center of one post to the center of the next, never edge to edge. Vinyl panels are built to fixed widths, usually 6 or 8 feet, and the rails lock into routed holes in the posts. If your spacing drifts even an inch, the rails will not seat.
Here is how to lay it out on your diagram. Say your panels are 8 feet wide on center and a run measures 50 feet. That is six full panels at 48 feet with 2 feet left over. You have two clean options: order one panel cut down to fill the 2-foot gap, or shift a gate into that run to absorb the odd dimension. Rails can be cut to length so a short panel fits snugly between posts, which is why the leftover section usually goes at the least visible end of the run.
A common search is for a 6×8 vinyl fence installation diagram, meaning 6-foot-tall privacy panels on 8-foot post centers. For that layout, mark a post center every 96 inches along the run on your drawing, then label each post by type:
- End posts: routed on one side only, used where a run starts or stops
- Corner posts: routed on two adjacent sides
- Line posts: routed on two opposite sides, used along the straight run
- Gate posts: heavier or reinforced, since they carry hinge and latch loads
Counting post types from the diagram is how you order materials correctly the first time. Running one corner post short mid-install stalls the whole job.
Step 4: Set String Lines and Stake Every Post Location
Move the diagram to the ground. Set a stake at each end of a run first, stretch a string line tight between them, and then measure your post centers along the string. The string is what keeps the fence straight; eyeballing post locations down a 100-foot run never ends well.
On sloped ground, which covers a lot of East Tennessee foothill lots, decide now whether the fence will step down in level sections or rack to follow the grade. Standard privacy panels step; racked panels follow the slope at an angle. Mark your choice on the diagram, because it changes post heights. One useful field trick on slopes: pickets do not have to be installed in the same direction along the whole run. Reversing the build direction on a downhill section keeps pickets from sliding as they go in.
Step 5: Dig the Holes and Plan for Knoxville Soil
Hole depth and diameter matter more than most DIY videos let on. Posts are the foundation of a vinyl fence; the panels only stay straight if the posts stay put through freeze-thaw winters and heavy spring rain. A typical target is a hole about three times the post width, dug below frost depth for the area, with extra depth for gate posts.
Knoxville ground complicates this. Much of the area sits on clay that holds water and rocky soil that fights an auger. Clay-heavy holes may need gravel at the bottom for drainage so water does not pool around the post base and heave it in winter. Rock may force a hole to shift a few inches, which is fine for a line post but a problem at a gate; note any flexible versus fixed post locations on your diagram before digging.
In tight spots, such as butting against a neighbor's existing fence or working around a mature tree, there is a workaround: set a metal pipe in concrete and sleeve the vinyl post over it. That reinforced post carries the load where a normal full-depth hole is not possible.
Step 6: Set Posts in Concrete with the Rail Holes Aligned
Setting posts is where the diagram pays off. Place each post, brace it plumb, and check two things before any concrete goes in: the post center matches your layout mark, and the routed rail openings line up exactly with the openings in the neighboring posts along the string line. Misaligned rail holes cannot be fixed after the vinyl fence cement cures; the post has to come out.
Pour concrete around each post, slope the top of the pour slightly away from the post so water sheds, and recheck plumb before moving on. Work end posts and corners first, then fill in line posts between them. Let the concrete cure fully before hanging panels, and longer before hanging gates, since gate posts take the most stress.
Step 7: Assemble Panels, Rails, and Gates
With posts cured, assembly moves fast. Insert the bottom rail into the routed holes, then build the panel using either method: drop pickets in and cap with the top rail, or fit the top rail first and pop pickets in after. Both work; rail-first can be easier at the end of a panel where the last picket gets tight. Side strips on the posts hold grooved pickets in place once the rails are set, and specialized screws lock rails into the posts so panels cannot lift out.
Hang gates last, after the gate posts have fully cured. Check swing clearance against the diagram, especially for a pool gate that must self-close and latch.
When a Diagram Says Repair, and When It Says Replace
Suppose a windstorm drops a limb across your fence and flattens two panels plus one post. Sketch just that section: the broken post, the two posts beside it, and the panel widths between them. If the neighboring posts are still plumb and their concrete footings are solid, the fix is one new post and two panels, not a new fence. That partial-section drawing also gives your insurance adjuster something concrete to work from.
However, the diagram can also reveal the opposite. If several posts along the run lean because the footings heaved or the original spacing was off, patching one section just moves the weak point. A fence where the layout itself failed usually costs less to rebuild correctly than to repair piece by piece over several seasons. Matching is the other honest trade-off: new vinyl next to panels that have weathered for ten years will show a visible color difference, even from the same manufacturer.
Cost context helps the repair-or-replace call. According to HomeGuide, a vinyl fence costs $30 to $60 per linear foot installed, or $6,000 to $12,000 for 200 linear feet, with low maintenance often making it more cost-effective than wood over time. Measuring the damaged run on your diagram tells you what share of that full-replacement number a repair represents.
Where a Diagram Stops and a Contractor Starts
A homeowner with patience can draw an accurate layout and even set a short straight run. The jobs that justify searching for vinyl fence installation near me are the hard ones: long runs on rocky ground, stepped layouts on slopes, pool code compliance, and commercial perimeters where an HOA board needs line-item bids. Professional vinyl fence installation also comes with crews who have fought East Tennessee clay before and know when a hole needs gravel, a deeper pour, or a reinforced post.
Either way, start with the drawing. Bring a measured sketch to any fence company and the estimate you get back will be tighter, the material order will be right, and the conversation shifts from guesses to specifics. If local building codes, pool barrier rules, or an unclear property line are in play, have a professional or surveyor confirm the layout before concrete goes in the ground.
If you need vinyl fence installation, Knoxville Fence Builders can help.
Prefer to talk it through? Call (865) 419-3997 — a quick call is usually the fastest way to get a straight answer for your situation.