
Vinyl Fence Installation Steps: Site Prep to Post-Setting in Clay Soil
If you have already decided on vinyl, the next question is how the work actually gets done. Vinyl fence installation follows a clear sequence: lay out the line, dig the holes, set the posts in concrete, then hang rails and panels. The order matters more than most homeowners expect, especially in Knoxville, where clay and rocky soil change how posts get set and how long each stage takes.
This guide walks through the full process step by step. Whether you are hiring a local fencing contractor and want to know what a good crew should do, or you are watching a vinyl fence installation video and weighing a DIY attempt, these are the steps that decide whether the fence stands straight in ten years or leans after the first wet spring.
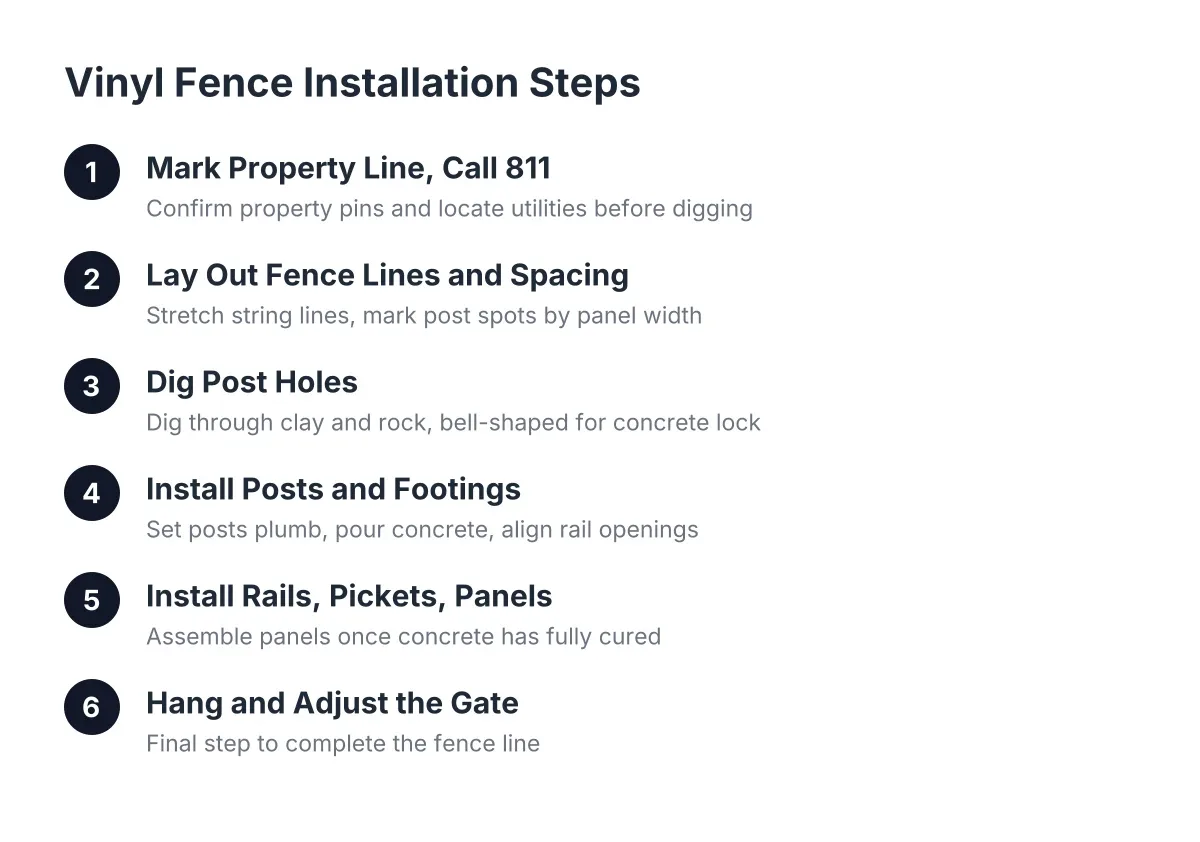
Step 1: Mark the Property Line and Call 811
Start with the boundary, not the fence. Pull your plat or survey and locate the property pins before anyone digs. On newer subdivisions around Knoxville the pins are often still findable with a metal detector; on older in-town lots you may need a surveyor to confirm the line.
Next, call 811 at least three business days before digging. Utility locators mark gas, water, electric, and communication lines for free. A post hole hits deeper than most people think, and clay soil hides lines well. No fence project should skip this step, hired crew or not.
While you wait on the locate, check two more things:
- HOA or city requirements for fence height, style, and setback from the property line
- Any easements where a fence may be allowed but could be removed for utility work
Step 2: Laying Out Fence Lines and Spacing for Vinyl Installation
With the boundary confirmed, stretch a string line between stakes along the full run. The string is your straightedge for every post. Mark each post location based on the panel width of your specific vinyl system, usually 6 or 8 feet on center. Vinyl is less forgiving than wood here. A wood fence lets you trim boards to cover a layout error; vinyl panels are made to fit a fixed opening.
Mark gate locations first, then work outward, because gate posts set the spacing for everything around them. On the sloped lots common in the East Tennessee foothills, decide now whether the fence will step down in level sections or rack to follow the grade. That choice affects which panels you order, so it has to happen before a single hole gets dug. If layout math is the part you want more detail on, a diagram showing measurements and post spacing for vinyl fence installation is worth studying before you commit to panel counts.
Step 3: Dig Post Holes for Knoxville Clay and Rock
Here is where East Tennessee ground earns its reputation. Red clay digs slowly when dry and turns to paste when wet, and many Knoxville lots hide rock a foot or two down. A hand post-hole digger works for a few holes in good soil. For a full privacy fence run in clay, a powered auger saves hours, and a digging bar handles the rock the auger refuses.
Dig each hole deep enough to get below the frost line, with extra depth for gate posts and corner posts, since they carry more load. Make the hole wider at the bottom than the top where you can. That bell shape locks the concrete footing into the soil, which matters in clay that swells when soaked and shrinks in a dry August.
Two clay-specific habits pay off:
- Add a few inches of gravel at the bottom of each hole so water drains away from the post instead of pooling against the concrete
- Do not dig holes days ahead in wet weather; open holes in clay collapse and fill with water
Step 4: Installing Posts and Concrete Footings
Posts are the foundation of a vinyl fence. The panels only stay straight if the posts do, so this step deserves the most patience. Set the corner and gate posts first, then run the string line between them and set line posts to the string.
Drop each post in the hole, then pour concrete around it. For vinyl fence cement, most installers use a standard fence-post concrete mix, either poured wet or set with the fast-setting dry-pour method where the bag goes in dry and gets water added on top. Wet mix gives a denser footing, which is the safer choice for gate posts and for clay that stays saturated through a Knoxville spring.
As you set each post, check three things before the concrete starts to firm up:
- Plumb on two faces with a level, not just one
- Height against the string line, since vinyl posts cannot be trimmed later without exposing the rail holes
- Rail opening alignment, because the pre-cut holes in each post must face each other exactly along the fence line, or the rails will never seat
That third check is the one DIY installs miss most often. A post that is plumb but rotated a few degrees will fight you at panel time, and by then the concrete has cured. Slow down here. Let the concrete cure fully before hanging any panels; rushing this stage in heavy clay is how fences end up leaning after the first freeze-thaw winter.
For tight spots, such as butting against a neighbor's fence or working beside a tree where a full footing will not fit, installers sometimes reinforce the post with a metal pipe set in concrete and sleeve the vinyl post over it. On an existing concrete pad or walkway that needs to stay intact, a core drill cuts a clean hole for the post instead of breaking the slab.
Step 5: Install Rails, Pickets, and Panels
Once the concrete has cured, the fence goes together fast. Slide the bottom rail into the post openings, then add pickets and the top rail. Panels can be assembled pickets-first with the top rail added after, or rail-first with pickets popped in one at a time. Both work; rail-first tends to be easier at the end of a run. Grooved pickets lock into side strips on the posts, which hold everything in place once the rails are set.
Rails that span odd openings, such as the last section before a corner, get cut to length so they fit snugly between posts, then secured with the screws made for vinyl systems. On slopes, you can reverse the direction you build a panel so pickets do not slide downhill as you insert them. Finish each post with a cap glued on with PVC cement so it never pops off in a storm.
For example, suppose a homeowner in Hardin Valley just closed on a new build with a bare quarter-acre backyard and a dog arriving next month. A typical crew handles a project like that in stages: layout and holes one day, posts set and curing the next, then panels and the gate once the concrete is solid. In that scenario the post-setting day is the slow one, because the clay dictates the pace, not the crew.
Step 6: Hang and Adjust the Gate
The gate is the hardest-working part of any fence, and vinyl gates sag if the posts move. Hang the gate on its hinges, set the latch, and check the swing with the gate fully loaded. Leave consistent clearance at the latch side so the gate still closes after the posts settle through a wet season.
If this fence will enclose a pool, Knoxville-area codes for a swimming pool fence require self-closing, self-latching hardware on the pool gate, and height and gap rules apply to the fence itself. Confirm the current 2026 requirements with your local codes office before ordering, because a pool enclosure that fails inspection has to be redone.
When to Hire a Professional for Vinyl Fence Installation
Hiring a crew makes sense when the ground, the slope, or the stakes outgrow a weekend project. Vinyl rewards precision; the material costs enough that a layout mistake or a rotated post gets expensive. Rocky ground, long runs, gates, and pool code requirements all tilt the decision toward a professional fence company.
Cost-wise, vinyl runs higher upfront than wood. A vinyl fence costs $30 to $60 per linear foot installed, according to HomeGuide, with low maintenance often making it more cost-effective over time. Angi puts full-project vinyl installs at $3,000 to $7,000 on average, against $1,920 to $4,820 for wood. Cost factors that move your number include linear footage, fence height, gate count, slope, and how much rock the auger hits.
Be honest about the trade-offs too. Vinyl needs no staining and shrugs off rot, but a cracked panel from a falling limb usually means replacing that section rather than patching a board the way you would on a wood fence. If your project involves a steep grade, a retaining wall, or a disputed property line, bring in a professional before any concrete gets poured.
Done right, from the string line to the last glued post cap, a well-executed vinyl fence installation gives a Knoxville yard a privacy fence that handles clay movement, spring rain, and freeze-thaw winters without the yearly upkeep wood demands. The steps are simple. The discipline to get the posts right is what separates a fence that lasts from one that leans.
Prefer to talk it through? Call (865) 419-3997 — a quick call is usually the fastest way to get a straight answer for your situation.