
Chain Link Fence Installation Step by Step: What the Diagrams Don’t Tell You
If you're searching for a chain link fence installation guide, you've probably already decided chain link is the right fit. Maybe a storm took out a section at one of your rental properties, or you just bought a house in Knoxville that needs a secure yard before a tenant with a dog moves in. Either way, this guide walks through the process of chain link fence stretching step by step, the same sequence a professional crew follows, so you can do the work yourself or know exactly what to expect when a local fencing contractor shows up.
One thing worth saying up front: the PDF diagrams and detail drawings you find online show you the parts. They rarely explain the order of operations, or how East Tennessee's clay and rocky soil changes the digging. This guide covers both.
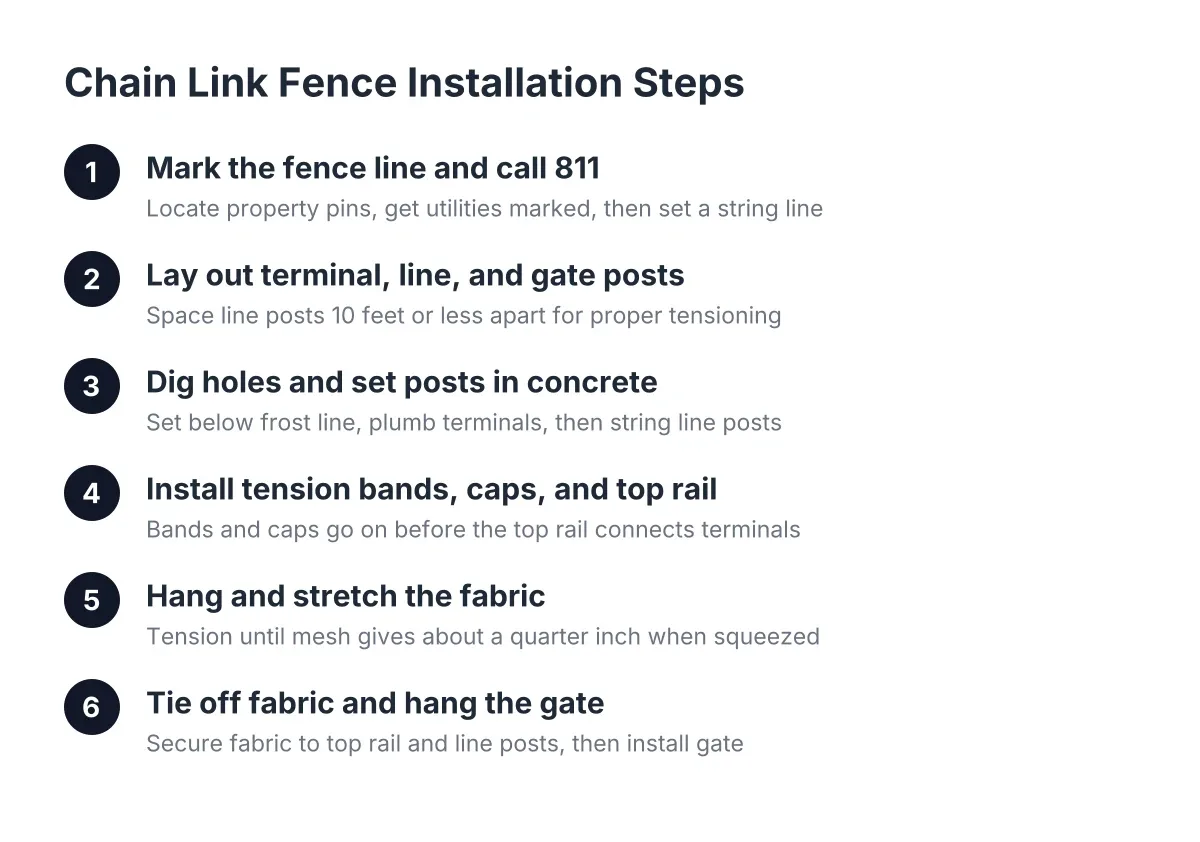
Step 1: Mark Your Fence Line and Call Before You Dig
Start by finding your property pins and marking the exact line where the fence will run. A fence set even a foot over the line can turn into a dispute with a neighbor, and at a rental, that's a headache you don't need.
Next, call 811 at least a few days before you dig. Tennessee law requires utility locating before any post holes go in the ground, and it's free. Buried gas, water, and cable lines in older Knoxville neighborhoods don't always run where you'd expect.
Once utilities are marked, drive stakes at every corner, end, and gate location. Then stretch a string line between them. Professional installers rely on the string line, not eyeballing, to keep posts straight; a chain link fence shows every wobble because the top rail is one continuous visual line.
Step 2: Lay Out Posts Using Chain Link Fence Stretching Considerations
A chain link fence installation diagram shows three post types, and each has a different job. Get these confused and the fence won't tension correctly.
- Terminal posts (ends, corners, and gate posts): the heavier-diameter posts that take the pulling load when the fabric is stretched
- Line posts: lighter posts spaced evenly between terminals, usually no more than 10 feet apart
- Gate posts: sized for the gate hardware and set deeper, since gates stress their posts every time they swing
Measure the distance between terminal posts, then divide it into equal spans of 10 feet or less. Even spacing matters more than hitting a round number. On a sloped Knoxville lot, which is common in the foothills, you may also need to decide whether the fence follows the grade or steps down in sections. Chain link handles slope better than most materials because the fabric can rack to follow the ground.
If your project includes a section that butts against an existing fence or wraps around a tree, plan that junction now. Awkward tie-in points are where DIY installs usually go wrong, and it's a fair spot to get a professional opinion before you commit.
Step 3: Dig Holes and Set Posts in Concrete
Dig terminal and gate post holes about three times the diameter of the post and deep enough to get below the frost line, since East Tennessee's freeze-thaw winters will heave a shallow post over time. Line post holes can be slightly smaller.
Here's where Knoxville ground conditions bite. Much of the area sits on heavy clay with rock close to the surface. A manual post hole digger that flies through sandy soil elsewhere can stall out here, and a rented auger may bounce off limestone. Budget extra time, and keep a digging bar handy for rock.
Set the terminal posts first. Plumb each one with a level on two sides, pour concrete, and let it cure. Then run your string line between terminals at the planned fabric height and set every line post to that string. The string keeps the line straight and the heights consistent, which is the difference between a fence that looks professional and one that looks like a weekend project.
Crown the concrete slightly at ground level so water sheds away from the post. Standing water against steel is what rusts posts out at the base years later.
Step 4: Install Tension Bands, Caps, and Top Rail
After the concrete cures, which usually means waiting at least a day or two, slide the hardware onto the posts before anything gets capped. The order matters, and it's the step most chain link fence detail drawings gloss over.
On each terminal post, slide on the tension bands (flat side facing the fabric side), then the brace bands for the rail ends. Add the post cap last. Line posts get loop caps, the caps with an eye on top that the rail passes through.
Feed the top rail through the loop caps and connect lengths with the swedged ends until the rail spans terminal to terminal. Cut the final piece to length with a pipe cutter or hacksaw, and seat it into the rail end cup on the terminal post. The top rail ties the whole framework together; a loose or unsupported rail is why damaged fences sag in the middle after a limb falls on them.
Step 5: Hanging and Stretching Chain Link Fence Fabric
Unroll the fabric on the ground along the outside of the fence line. Stand it up at one terminal post, weave a tension bar through the end row of the mesh, and bolt that bar into the tension bands. The fabric now hangs from the framework at one end.
Stretching is the make-or-break step. Attach a fence puller (a come-along with a stretcher bar) near the far terminal post and tension the fabric until the mesh gives about a quarter inch when you squeeze it by hand. Under-stretched fabric sags and lets dogs push through at the bottom, which matters if you're fencing a rental yard for a pet-friendly listing. Over-stretched fabric distorts the diamonds.
While the fabric is under tension, weave a second tension bar through, bolt it to the bands on the far terminal, and release the puller. Remove any extra mesh by untwisting a strand and spinning it out of the weave.
Step 6: Tie Off the Fabric and Hang the Gate
With the fabric tensioned, tie it to the top rail and line posts with aluminum fence ties, roughly every foot along the rail and every foot or so down each line post. Fence ties come in different lengths matched to the pipe diameter, so make sure yours fit the posts you bought. If you can, work from the side of the post opposite the mesh; the twisting motion is easier from that side.
Run tension wire along the bottom of the fabric between terminals and clip it to the mesh. Bottom wire is optional in some guides, but skip it and a determined dog will find the gap.
Finally, hang the gate. Bolt the hinges to the gate post, set the gate so it clears the ground through its full swing, and install the latch. Check the swing again after a week; new concrete and spring rain can shift things slightly, and a gate that drags is the most common callback on any fence installation.
When DIY Chain Link Installation Isn't the Right Call
A straight run on flat ground is a realistic weekend project for a handy owner. However, some situations tilt the math toward hiring it out.
Suppose a landlord in Powell has a rental where a windstorm dropped a limb across 40 feet of chain link, bending the top rail and two line posts. In that scenario, the repair means cutting out damaged rail, pulling bent posts set in concrete, and re-tensioning the fabric to match the undamaged runs using proper techniques. That's harder than a fresh install, and it's worth getting a repair-versus-replace assessment from a fence company before buying materials. An honest assessment should also give you documentation that works for an insurance claim.
Rocky ground, steep slopes, multiple gates, or a tight timeline between tenants are other reasons to bring in a crew. The cost factors that drive a professional quote, including fence height, fabric gauge, terrain, and gate count, are the same ones that drive your DIY material bill. The labor you're paying for is mostly the stretching, the straight lines, and the post-setting in clay and rock, which is exactly the part that's hardest to get right the first time.
Done correctly, chain link is the lowest-maintenance fence you can put around a Knoxville yard or rental property. Follow the sequence above, respect the string line, and don't rush the concrete, and the fence will outlast most of the diagrams you printed to build it.
If you need chain link fence installation, Knoxville Fence Builders can help.
Prefer to talk it through? Call (865) 419-3997 — a quick call is usually the fastest way to get a straight answer for your situation.