
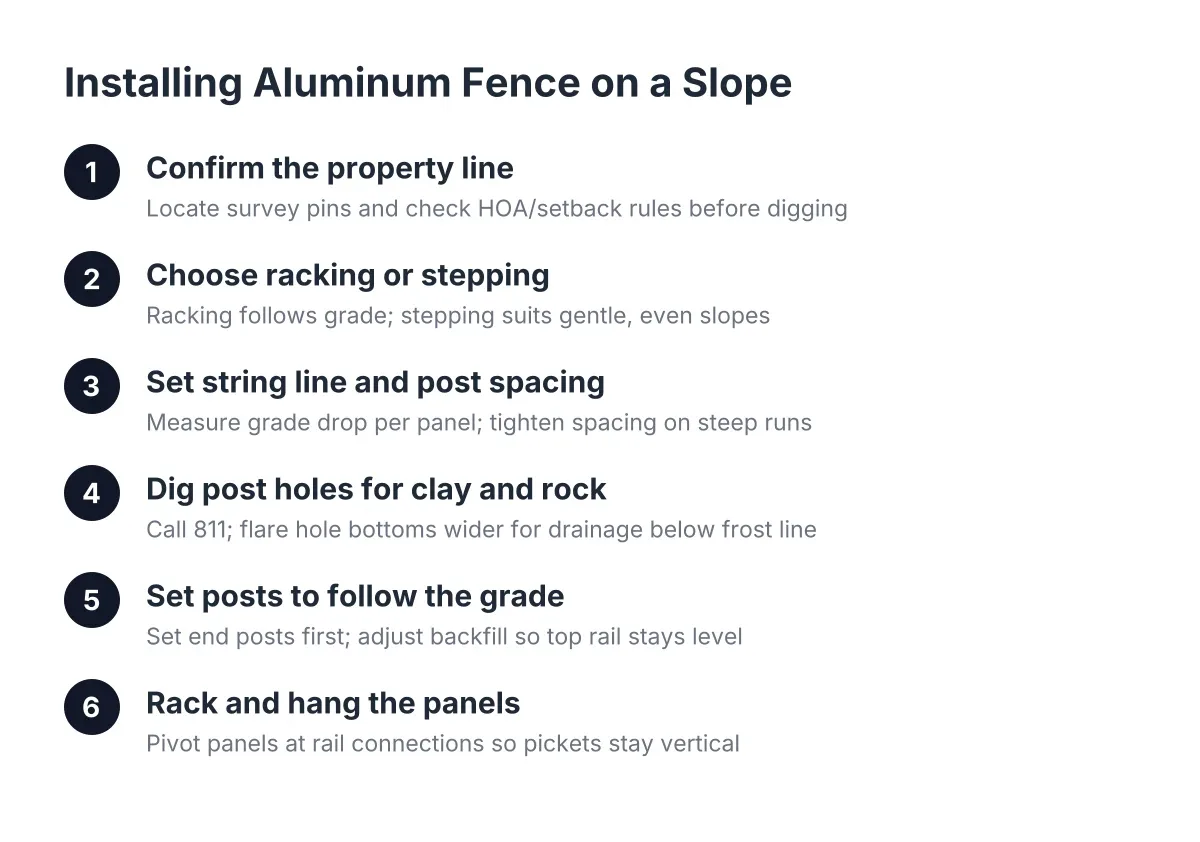
Aluminum Fence on Slope: How to Install Level Panels on Knoxville Hills
Installing an aluminum fence on a slope is one of the most common challenges on Knoxville lots. The foothills around East Tennessee give us yards that rise, dip, and roll, and a fence that looks straight on flat ground can look crooked fast when the grade changes under it. The good news is that aluminum handles slopes better than almost any other material, because the panels can rack, or angle, to follow the ground. This guide walks through the process step by step, whether you plan to hire a local fencing contractor or you are weighing a DIY kit.
One note before the steps: if your fence is going anywhere near a property line, the layout work matters as much as the digging. A fence set six inches onto a neighbor's land can turn into a legal headache, and moving posts set in concrete is not cheap. The steps below cover both the slope work and the boundary work, because in Knoxville you rarely get one without the other.
Step 1: Confirm the Property Line Before You Dig
Find your actual boundary before a single post goes in the ground. If you have a recent survey, pull it out and locate the pins. If you bought the house without one, or if you and your neighbor disagree about where the line runs, order a survey before you order fencing. It is an added cost, but it is far smaller than the cost of relocating a finished fence.
This step matters even more on sloped ground. On a hillside, visual landmarks mislead people. A line that looks like it follows the ridge may actually angle across it, and a neighbor's existing fence is not proof of where the boundary sits. Document the surveyed line with photos and keep the paperwork. If a question comes up years later, you will have the record.
In addition, check local setback requirements and, if your property sits in an HOA community, get written approval for the fence style, height, and placement before scheduling fence installation. HOA boards and property managers in Knoxville often have specific rules about black aluminum fence styles around pools and common areas, and approval first saves a redo later.
Step 2: Walk the Slope and Choose How Your Aluminum Fence Racks or Steps
Decide how the fence will handle the grade before you buy anything, because the choice changes what you order. There are two methods for running an aluminum fence on a slope:
- Racking: The panel pivots at each rail-and-picket connection so the rails follow the grade while the pickets stay vertical. The bottom rail hugs the ground with no large gaps. Most aluminum panels rack to a standard degree, and steeper slopes need heavy-rake panels made for sharper angles.
- Stepping: Each panel stays level and the fence drops down the hill in stair steps. This looks clean and formal, but it leaves triangular gaps under the panels on the downhill side of each step.
For most Knoxville yards, racking wins. It follows the rolling grade common in the foothills, it avoids gaps a dog or child could slip under, and it costs less because you are not cutting custom panels. Stepping makes sense on gentle, even slopes where the look matters most, or along a retaining wall where the ground drops in defined levels.
For a swimming pool fence, racking is usually the only workable choice. Pool barrier rules limit the gap under the bottom rail, and stepped panels on a grade can open gaps that fail inspection. If your project involves a pool gate, plan the gate location on the flattest stretch of the line, since gates cannot rack the way panels do.
Step 3: Set a String Line and Mark Your Post Spacing
Run a string line along the planned fence path, staked at each end and at every change in grade. The string does two jobs on a slope. It keeps the fence running straight when the ground tries to pull your eye off line, and it lets you measure how much the grade rises or falls across each panel.
Measure the drop over each panel length. This tells you whether standard racking panels will handle the angle or whether a section needs heavy-rake panels. Here is the detail DIY kits rarely explain: on steep sections, rails that rack sharply lose effective length, and a full panel may not reach into the post routing. Experienced installers shorten post spacing on the steepest runs so the rails seat fully in the posts. If you space posts at the standard interval on a sharp grade, you can end up with rails that fall short of the hole they need to slide into.
Mark every post location with paint or a stake, keeping spacing consistent on flat runs and tightened on steep ones. Plan where cut or shortened panels will land, and put them in the least visible corner of the yard. Save full panels for the stretch facing the street or the pool deck.
Step 4: Dig Post Holes for Knoxville Clay and Rock
Call 811 before digging; buried utility lines do not care how careful you are. Then dig each hole to the depth your panel height requires, typically deep enough that the footing sits below the frost line, with a diameter about three times the post width.
East Tennessee ground makes this the hardest step. Much of Knoxville sits on dense clay with rock mixed in, and a hole that takes ten minutes in sandy soil can take an hour here. Clay also holds water, so flare the bottom of the hole slightly wider than the top and add gravel for drainage. Our freeze-thaw winters push on footings; a footing shaped wider at the bottom resists heaving instead of inviting it.
On a slope, depth is measured from the downhill side of the hole, not the uphill side. Measure from the low side and you will not come up short.
Step 5: Set Posts So the Rails Follow the Grade Evenly
Set the two end posts of a run first, then fill in between them. Drop each post in, pour concrete, and check plumb on two faces with a level. Here is where slope work separates a clean fence from a sloppy one: on uneven grade, a post sometimes needs backfill built slightly higher on one side so the top rail runs at a consistent height even as the ground rises and falls under it.
Restring your line across the tops of the set posts. The string confirms the post tops follow the grade in a smooth, even line instead of jumping up and down. This same trick applies along driveways, which almost always carry a pitch; the string keeps the fence a consistent height above the pavement from end to end.
For aluminum fence post installation on a grade, patience beats speed. Let the concrete cure before you hang panels. A post that shifts a half inch on a slope throws off every panel attached to it.
Step 6: Rack and Hang the Panels
Insert the panel rails into the post routing, letting the panel rack to match the grade between posts. Before fastening anything, lift the panel and sight along the top. The picket tops should align evenly with the previously hung section; a panel fastened a half inch high or low breaks the line of the whole fence, and on a black aluminum fence against a green hillside, the eye catches it immediately.
Work downhill one panel at a time, checking the bottom rail gap as you go. On a racked installation, that gap should stay consistent, which matters most on a swimming pool fence where the gap is regulated. Secure each panel with the self-tapping screws provided, and do not overtighten; aluminum threads strip easier than steel.
Hang the gate last, on the flattest ground available, with the hinges on the uphill post if any grade remains. An aluminum fence gate on a slope needs clearance to swing without scraping, and a pool gate must still self-close and self-latch correctly, so test it a dozen times before calling the job done.
When to Hire a Pro for Sloped Aluminum Fencing
Hire a professional when the grade exceeds what standard panels rack to, when the fence runs near a disputed or unsurveyed property line, or when the project must pass a pool barrier inspection. Flat-yard DIY aluminum fence installation is manageable for a handy homeowner. Slopes, clay, rock, and code requirements change the math.
For example, suppose an HOA board in West Knoxville needs to replace an aging pool enclosure where the ground drops several feet from the clubhouse side to the back line. In that scenario, a crew has to mix standard and heavy-rake panels, tighten post spacing on the steep run, keep the bottom-rail gap within pool code the whole way, and document that the new fence sits inside the common-area boundary. That is not a weekend kit project, and a failed inspection or a boundary complaint from an adjacent owner costs more than the labor would have.
Professional aluminum fence installation also brings the equipment Knoxville ground demands. Augers and digging bars that chew through clay and rock, experience reading where a grade needs heavy-rake panels versus shortened spacing, and the judgment to flag a boundary question before concrete gets poured. A good local fencing contractor will ask about your survey before asking about your panel style. If an installer is willing to build wherever you point without asking where the line is, that is a warning sign, not a convenience.
One honest trade-off: aluminum costs more upfront than a chain link fence, and it does not give you the privacy a wood fence or vinyl fence provides. What it gives you on a Knoxville hillside is a fence that follows the ground cleanly, resists rust through wet springs and freeze-thaw winters, and asks for little maintenance for decades. For sloped lots, shared boundaries, and pool enclosures that have to pass inspection in 2026 and beyond, that combination is hard to beat.
If you need aluminum fence installation, Knoxville Fence Builders can help.
Prefer to talk it through? Call (865) 419-3997 — a quick call is usually the fastest way to get a straight answer for your situation.